Site Map Setup
On the Admin screen you will find a section called Site Map Setup. This section is essential to the functionality of Smart Safety, the organization of your equipment and inspections, and powers the 3d mapping features that will be coming soon.
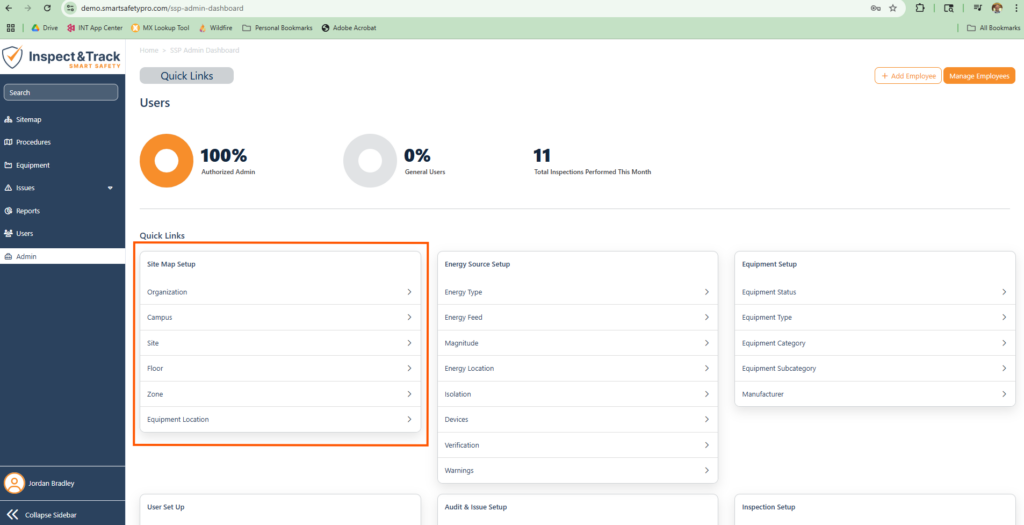
There are separate articles for each screen, but here is the overview:
Organization
This screen allows you to set your company name, upload your company logo, and set primary contact information. You can only have one organization.
Campus
A campus is a group of sites that all share the same location. Each campus must have at least one site. This feature is used for reducing the scope of the sync to where you are currently working and helping to keep the sync fast and efficient for your inspection team. This screen populates the drop downs that power your entire system.
Site
A site is a specific location or building. Each site must be at a campus, and also needs to be assigned to a hierarchy node for best use. This screen populates the drop downs that power your entire system.
Floor
A floor is a specific floor on a site. This screen populates the drop downs that power your entire system.
Zone
A zone is a specific section of a floor. This screen populates the drop downs that power your entire system.
Equipment Location
An equipment location is an optional field that you can add to your equipment once you have defined all the required fields above. For example, you may have a fire extinguisher that is in the Main Office, on the First Floor, in the Lobby, but you want to give the extra details that it is “to the left of the front door.” You can set that equipment location on each piece of equipment, and this screen allows you to see all those locations in one single place, rather than searching equipment, and then opening each one individually, if you need to make changes.